RASPBERRY PI AND PLEX: HOW TO TURN YOUR MINI COMPUTER INTO A MULTIMEDIA SERVER
INTRODUCTION
The Raspberry Pi mini computer was born as an educational machine and as the first tool to put your knowledge into practice. It has now evolved and thanks to its modest power it can be used in many different projects. One of the most popular projects the Raspberry Pi is used for is turning it into a home media center.
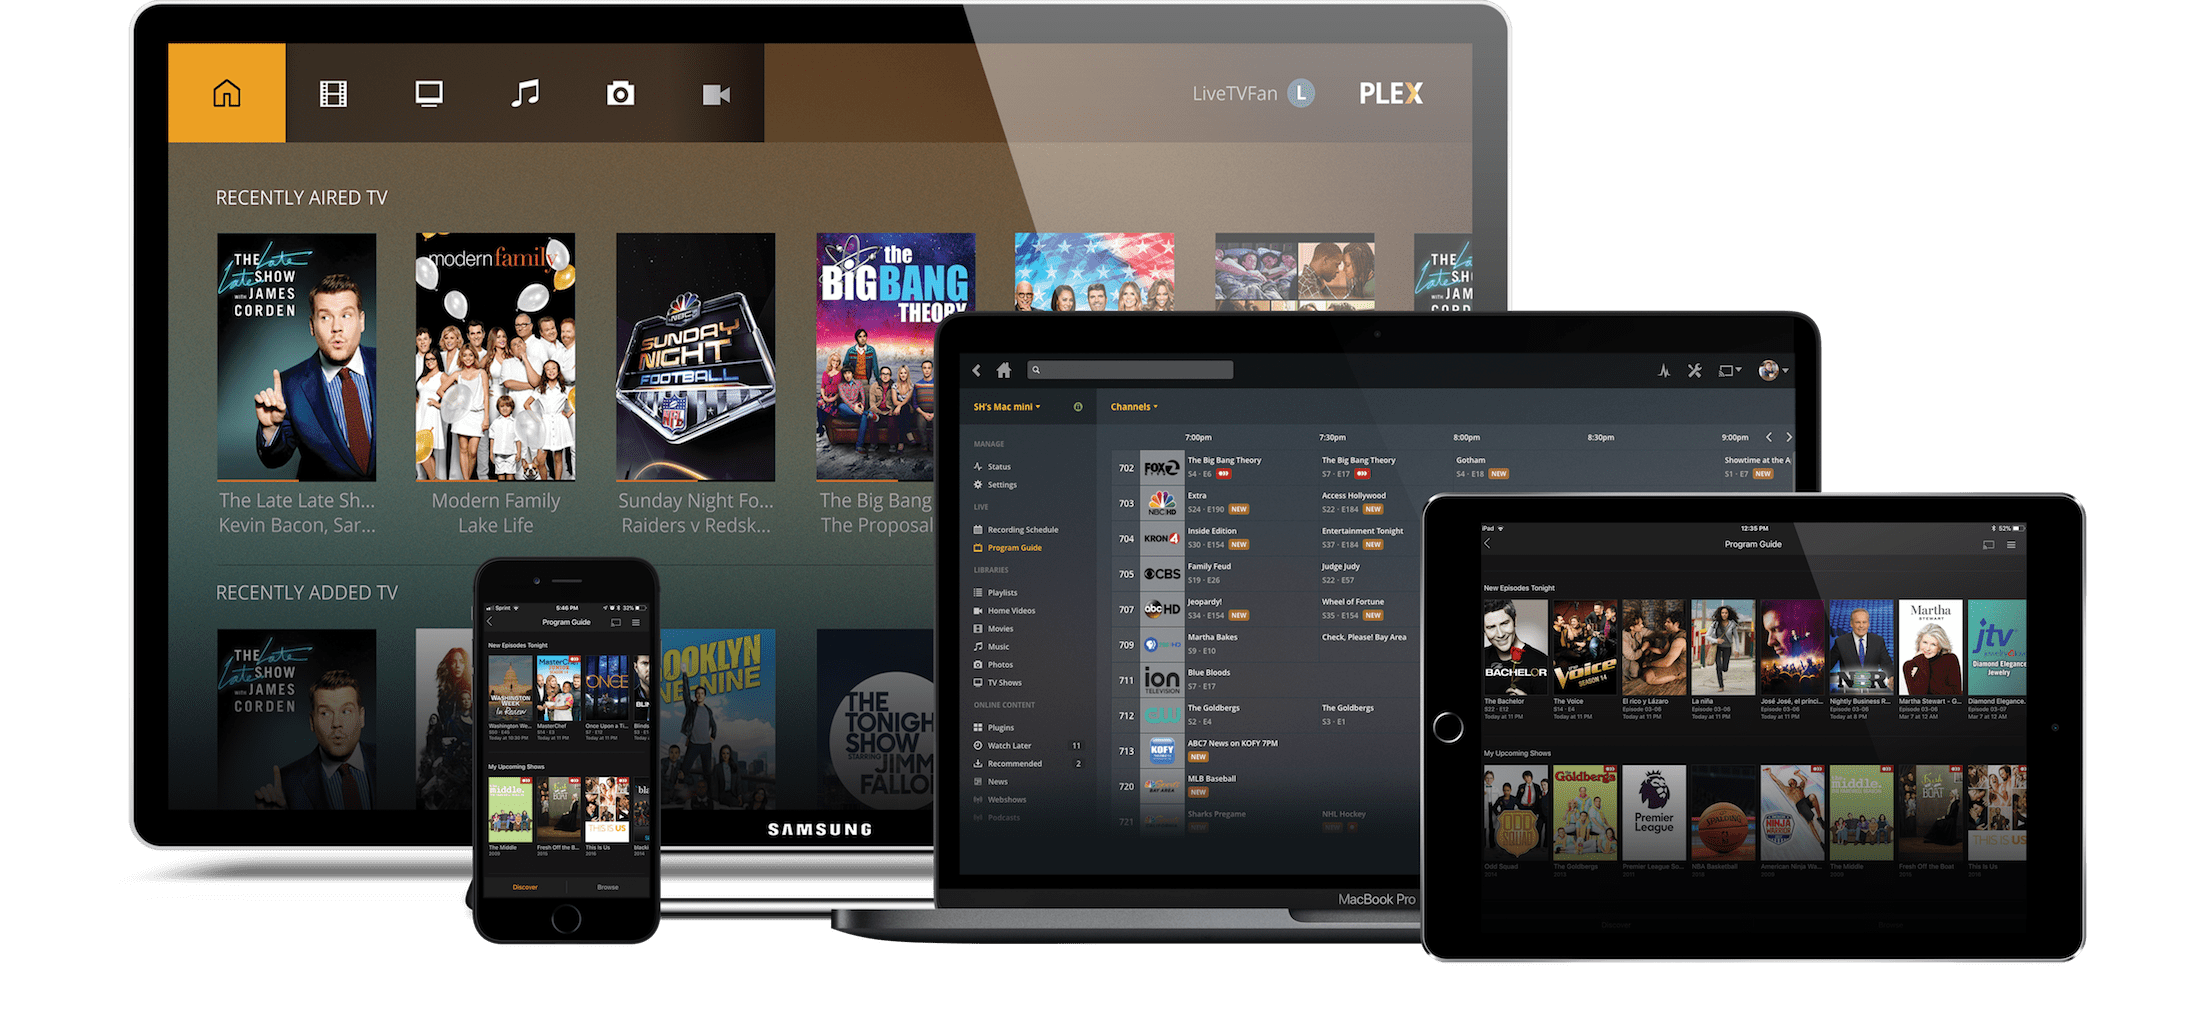
Plex is a well-known streaming media server that allows you to organize Movies, Music, Pictures and Videos and stream them to all your devices at any time and from anywhere.
Let’s see now how to install Plex Media Server on Raspberry Pi.
PREREQUISITES
- Raspberry with Raspbian installed. Or else Ubuntu. If you do not know how to proceed with the installation click HERE↗, I recommend an installation without a graphical interface in order to make everything lighter. Plex doesn’t need a GUI as it has its own.
- I recommend using external storage for media files. A HDD, SSD, or at most a USB stick will do just fine.
INSTALLATION
The safest and easiest way to install Plex Media Server on Raspberry Pi is to use the official repository.
Installation shouldn’t take more than 20.
Log into the Raspberry via SSH or connect it to a monitor and follow the steps below.
Let’s start with updating our Raspberry.
sudo apt-get update
sudo apt-get upgrade
Now install the dependencies needed to enable a new repository over HTTPS:
sudo apt install apt-transport-https ca-certificates curl
Import the repository GPG key and add the APT repository to the system software repository list by running the following commands:
curl https://downloads.plex.tv/plex-keys/PlexSign.key | sudo apt-key add -
echo deb https://downloads.plex.tv/repo/deb public main | sudo tee /etc/apt/sources.list.d/plexmediaserver.list
As soon as the Plex repository is enabled, update the package list and install the latest version of the Plex Media Server:
sudo apt update
sudo apt install plexmediaserver
This may take a few minutes. Once installation is complete, check operation with:
sudo systemctl status plexmediaserver
CONFIGURATION
Now let’s create the directories that will store the Plex media files:
sudo mkdir -p /opt/plexmediafiles/movies
sudo mkdir -p /opt/plexmediafiles/series
Plex Media Server works with the PLEX user who obviously needs to have read and write permissions for media files and directories. We grant permissions:
sudo chown -R plex: /opt/plexmediafiles
Obviously you can choose any folder where to place the multimedia files, but remember to grant permissions.
Now we can proceed with the server configuration. Open your browser, digit http://YOUR_SERVER_IP:32400/web and you should view Login page.
To use Plex Media Server, you need to create an account. Let’s proceed then, press the Google, Facebook or Email button to create a free Plex account. Also for premium features you can purchase a Plex Pass plan↗.
Once registered, you will be redirected to the page with information on how Plex works. Click on the button Got it
On the next screen enter the Plex server name, leave the box Allow me to access my media outside my home selected and click Next. The next step is to add a media library. Click on the button Add Library When the pop-up window appears, select movies as the library type and click Next. In the next step click Browse for media folder and add the path to the directory that will contain the Movies media files, in our case /opt/plexmediafiles/movies. Click the button Add and then on Add Library.
You can add as many libraries as you want. Click Next, then Done, you will be redirected to the Plex web dashboard.
Now that you’ve completed the setup wizard, you can start exploring Plex’s options and everything it can do.